Ask walk-in tub owners which feature they touch every single bath, and the answer is almost always the grab bar. Doors get the marketing, jets get the showroom wow, but the humble grab bar is what your hand reaches for when you step in, sit down, stand up, and steady yourself — four times a bath, every bath, for years.
Because grab bars do safety-critical work, their placement, sturdiness, and installation quality deserve more scrutiny than most buyers give them. This guide covers where bars should be, what separates a real grab bar from a decorative rail, and how to evaluate them before you buy.
Why placement matters more than quantity
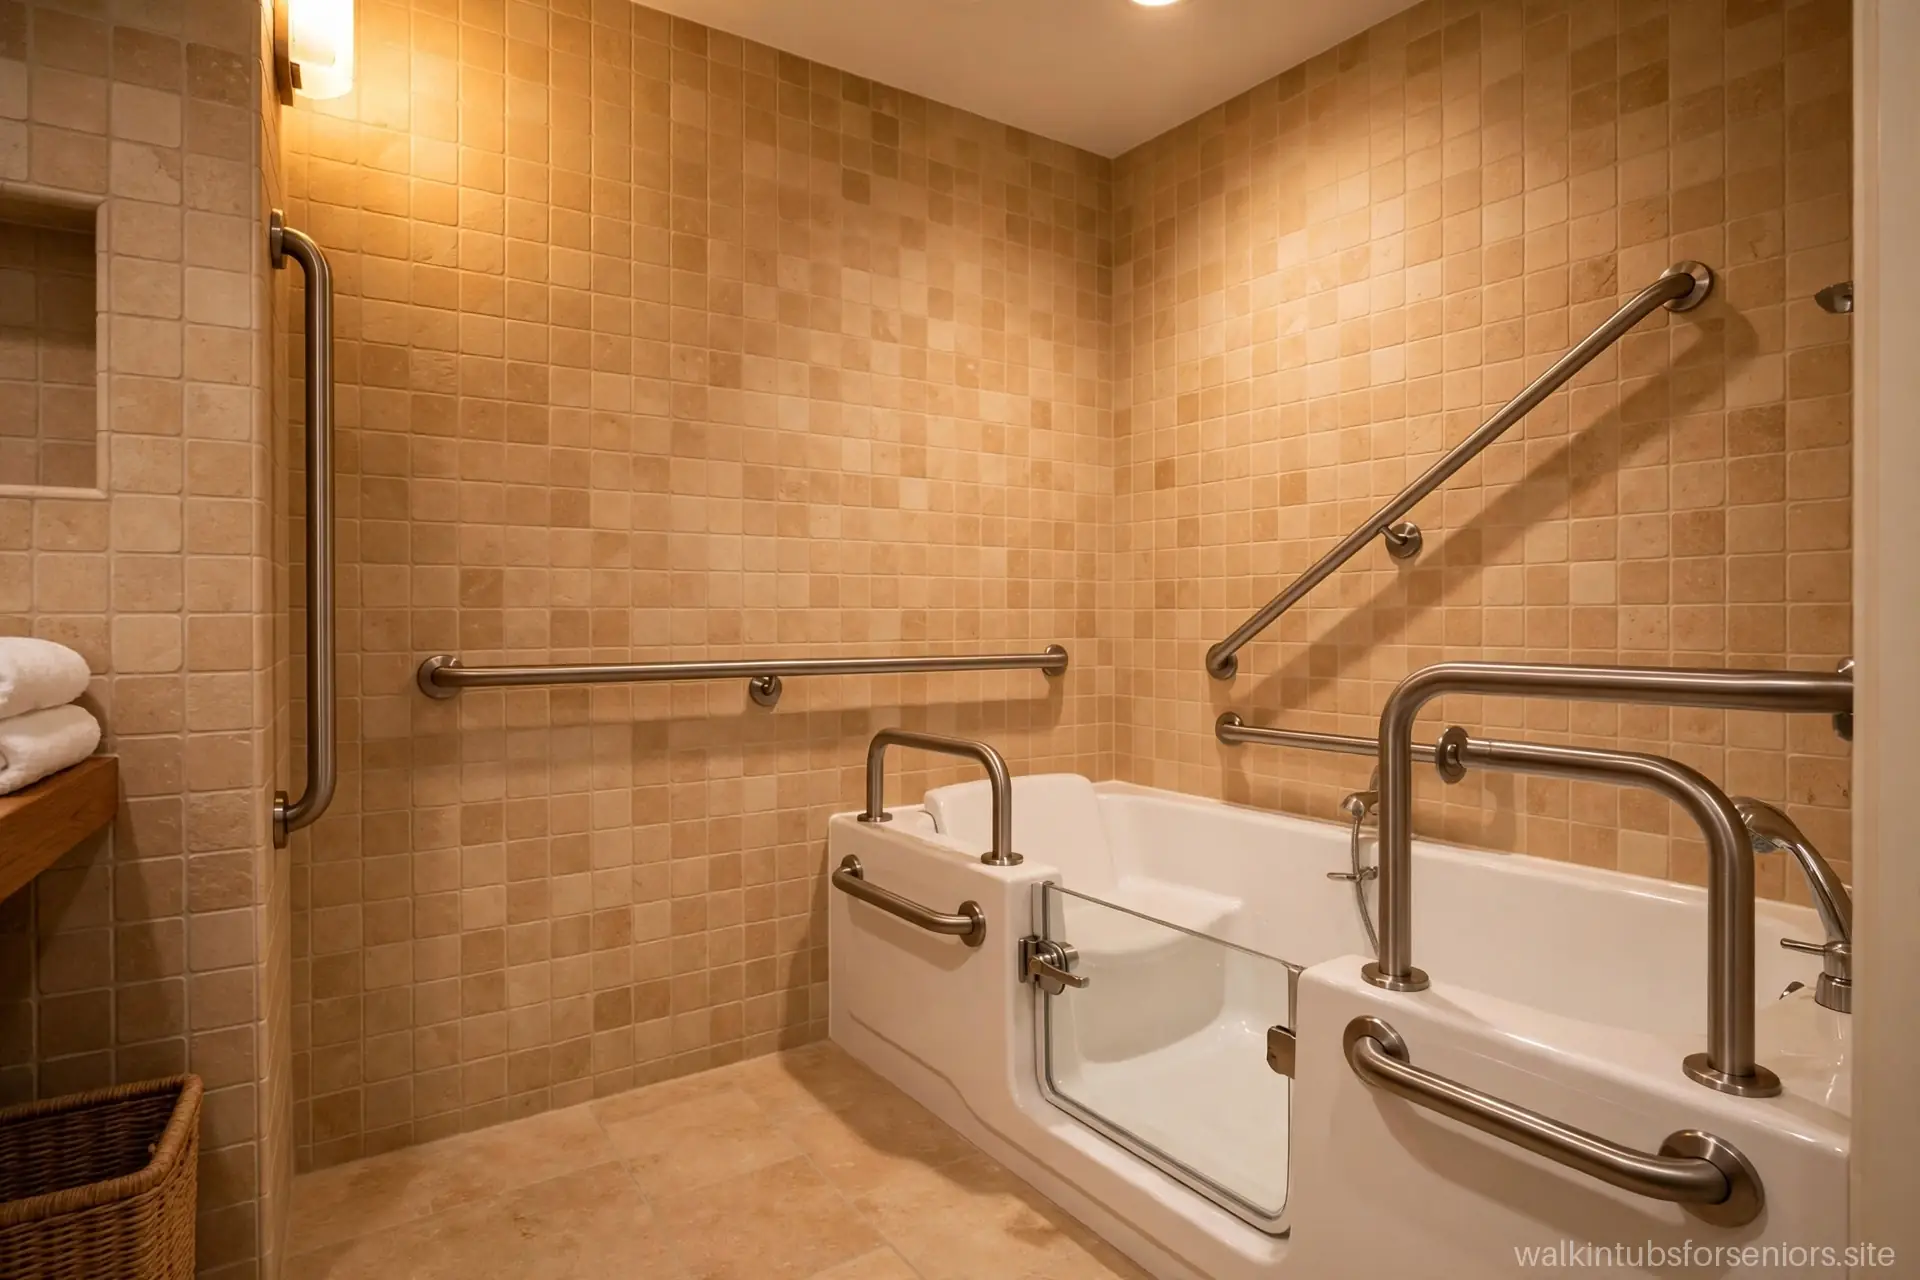
A tub can have three grab bars and still be poorly served if they are all in the wrong places. What matters is that a bar is within natural reach at each of the four key moments: stepping through the door, lowering onto the seat, standing up from the seat, and steadying yourself while seated. A bar you cannot reach without leaning is a bar you will not use — and an unreached-for bar is decoration.
Reach is personal. Your height, arm length, and which side is stronger all change where a bar should sit. This is why sitting in the actual model matters: reach out as if the tub were wet and you were unsteady, and notice which bars fall naturally under your hands.
The four positions that matter
1. The entry bar
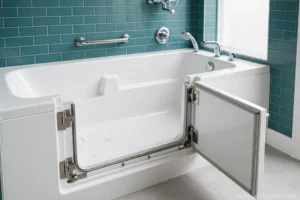
Positioned near the door, roughly vertical or angled, this is the bar you grip while stepping over the threshold. It should be reachable before your foot leaves the bathroom floor — you want support through the entire step, not starting halfway across.
2. The lowering bar
Near the seat’s front edge, positioned so you can grip it while bending your knees to sit. This bar takes significant downward force as you lower your body weight — it must be through-bolted to structure, not merely surface-mounted.
3. The standing bar
Often the same physical bar as the lowering bar, but used in reverse: you pull yourself up from the seat. Test this motion in the showroom. If you have to hunch or twist to get leverage, the placement is wrong for your body.
4. The seated steadying bar
A horizontal bar along the tub wall at seated shoulder or chest height, useful for shifting position, reaching the controls, or simply feeling secure while soaking. This is the bar people underestimate and then use constantly.
Real grab bars vs. decorative rails
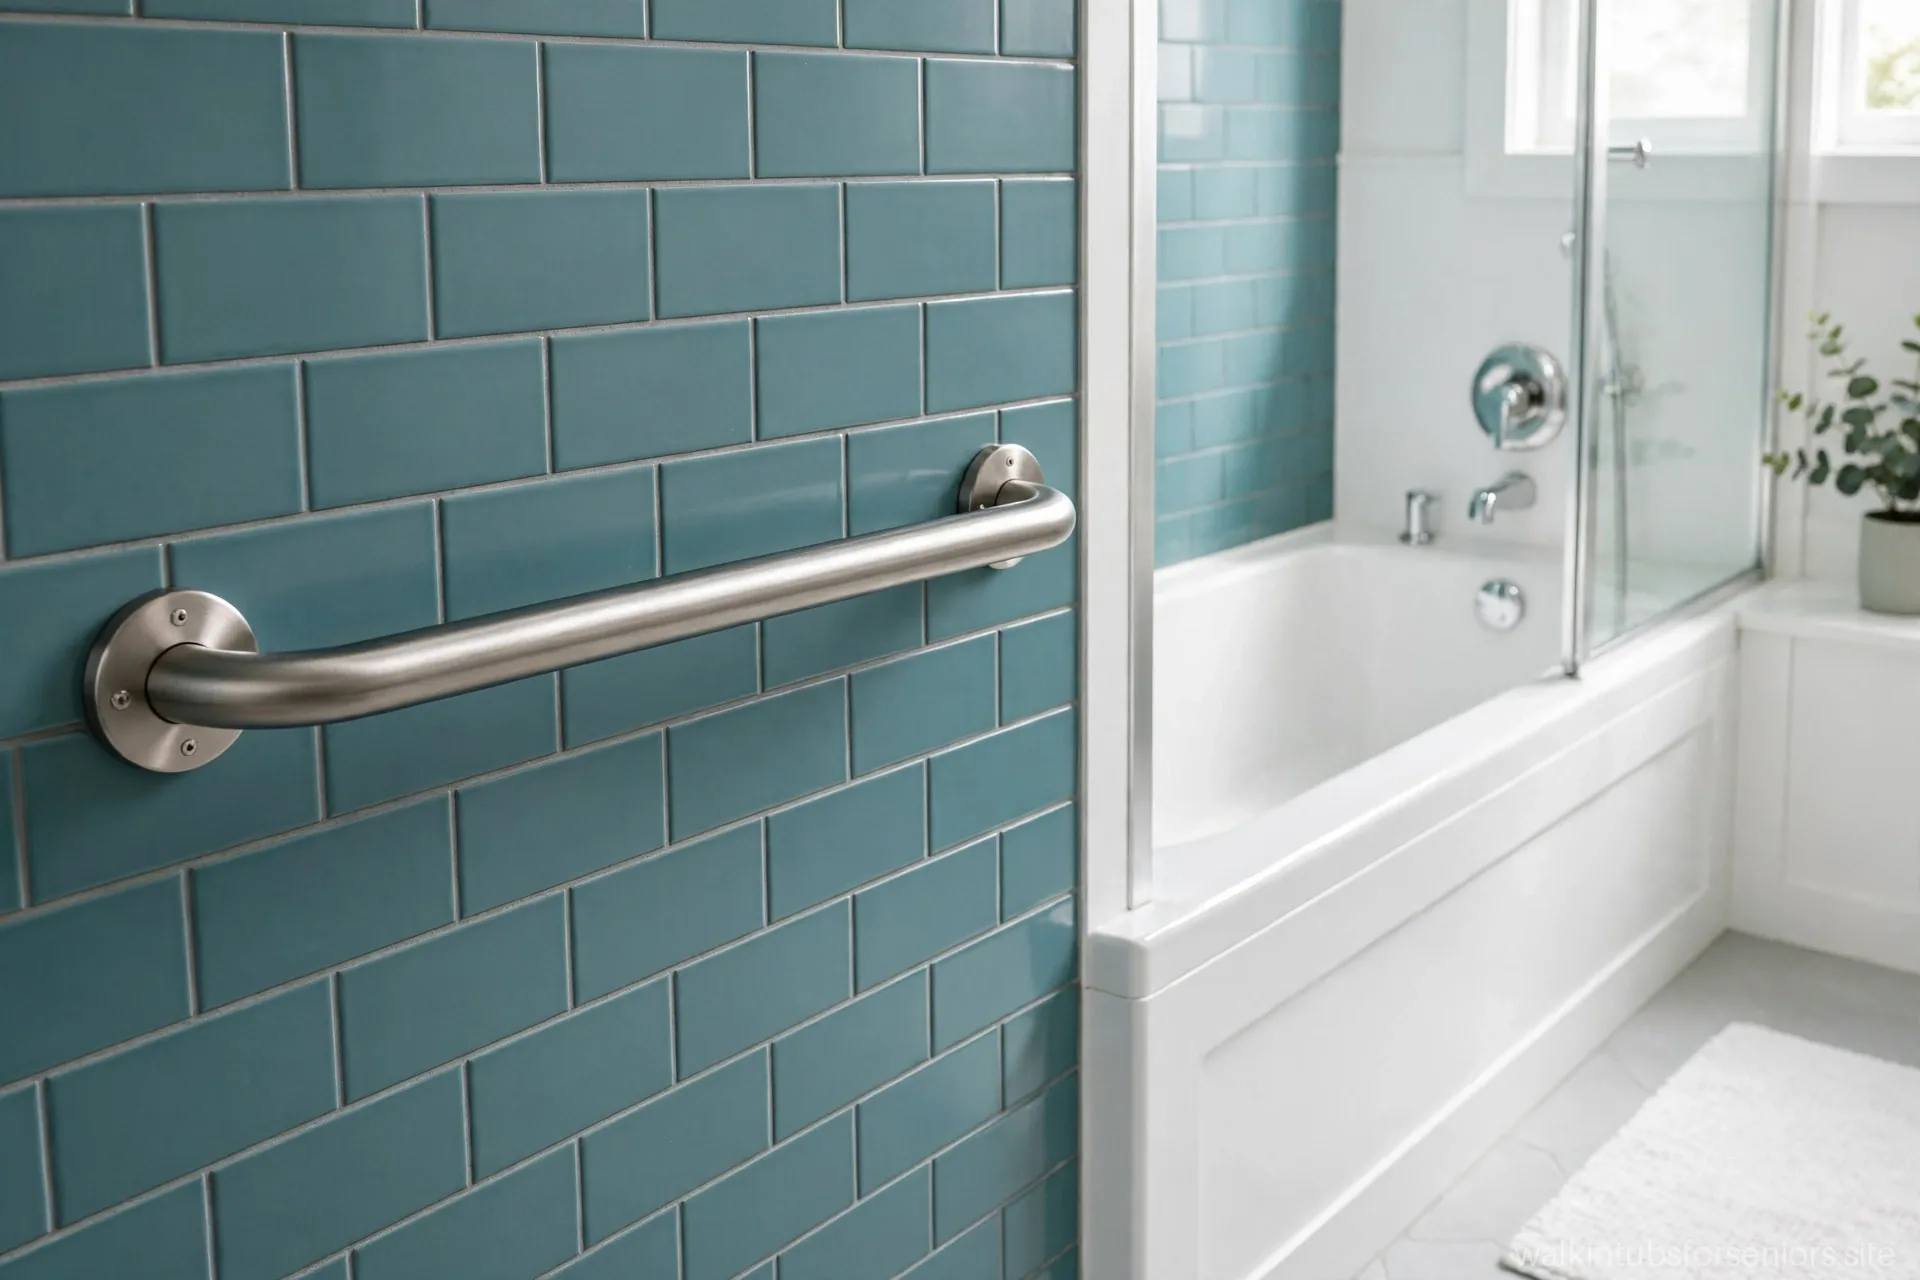
Not everything shaped like a bar is a grab bar. A true safety grab bar is typically stainless steel or another non-corroding metal, 1.25 to 1.5 inches in diameter (the range most hands grip securely), with a textured or knurled finish for wet grip, and anchored through the tub shell into structural backing — not just screwed into fiberglass.
Warning signs of decorative rails: plastic construction, narrow diameter that is hard to grip with arthritic hands, smooth chrome that gets slippery when wet and soapy, visible flex when you pull hard, and mounting flanges with no visible through-bolting. In the showroom, grip the bar with a firm pull — a real grab bar feels like part of the building; a decorative rail feels like part of the brochure.
Adding bars after installation
Most walk-in tubs come with at least one or two bars, but you can usually add more. The catch is anchoring: a bar is only as strong as what it is bolted to. Tub-wall-mounted bars must hit the manufacturer’s designated backing points. Wall-mounted bars beside the tub must hit studs or rated anchors — never just drywall, and never a fiberglass surround alone.
This is genuinely a job for someone who knows what is behind your walls. A handyman with a stud finder and the right anchors can do it; guessing cannot. If you are planning a full bathroom update around the tub, our guide to lighting and flooring for senior bathrooms covers the other surfaces and fixtures worth addressing at the same time.
A word about suction-cup bars
Suction-cup grab bars are widely sold and widely misunderstood. They are balance aids — useful for steadying yourself — not fall prevention devices. They can and do release without warning, especially on textured or porous surfaces. Never rely on a suction-cup bar for the full-weight moments of sitting down or standing up. Use them only as a supplement to properly anchored bars, and check their grip before every use.
Your grab-bar checklist before buying
Run through this list on any model you are seriously considering. Can you reach a bar before stepping in? Can you grip one while lowering to the seat? Can you pull yourself up without twisting? Is there a horizontal bar at seated height? Are the bars metal, textured, and rock-solid when pulled? Are the mounting points through-bolted? If the answer to all six is yes, the tub’s grab-bar package is doing its job.
And remember that grab bars are part of a system. The tub’s installation — level setting, proper drain connection, sealed surrounds — is what keeps the whole unit safe for decades. Our step-by-step look at the walk-in tub installation process shows what good installation looks like, so you can hold your installer to it.
Finishes and grip for arthritic hands
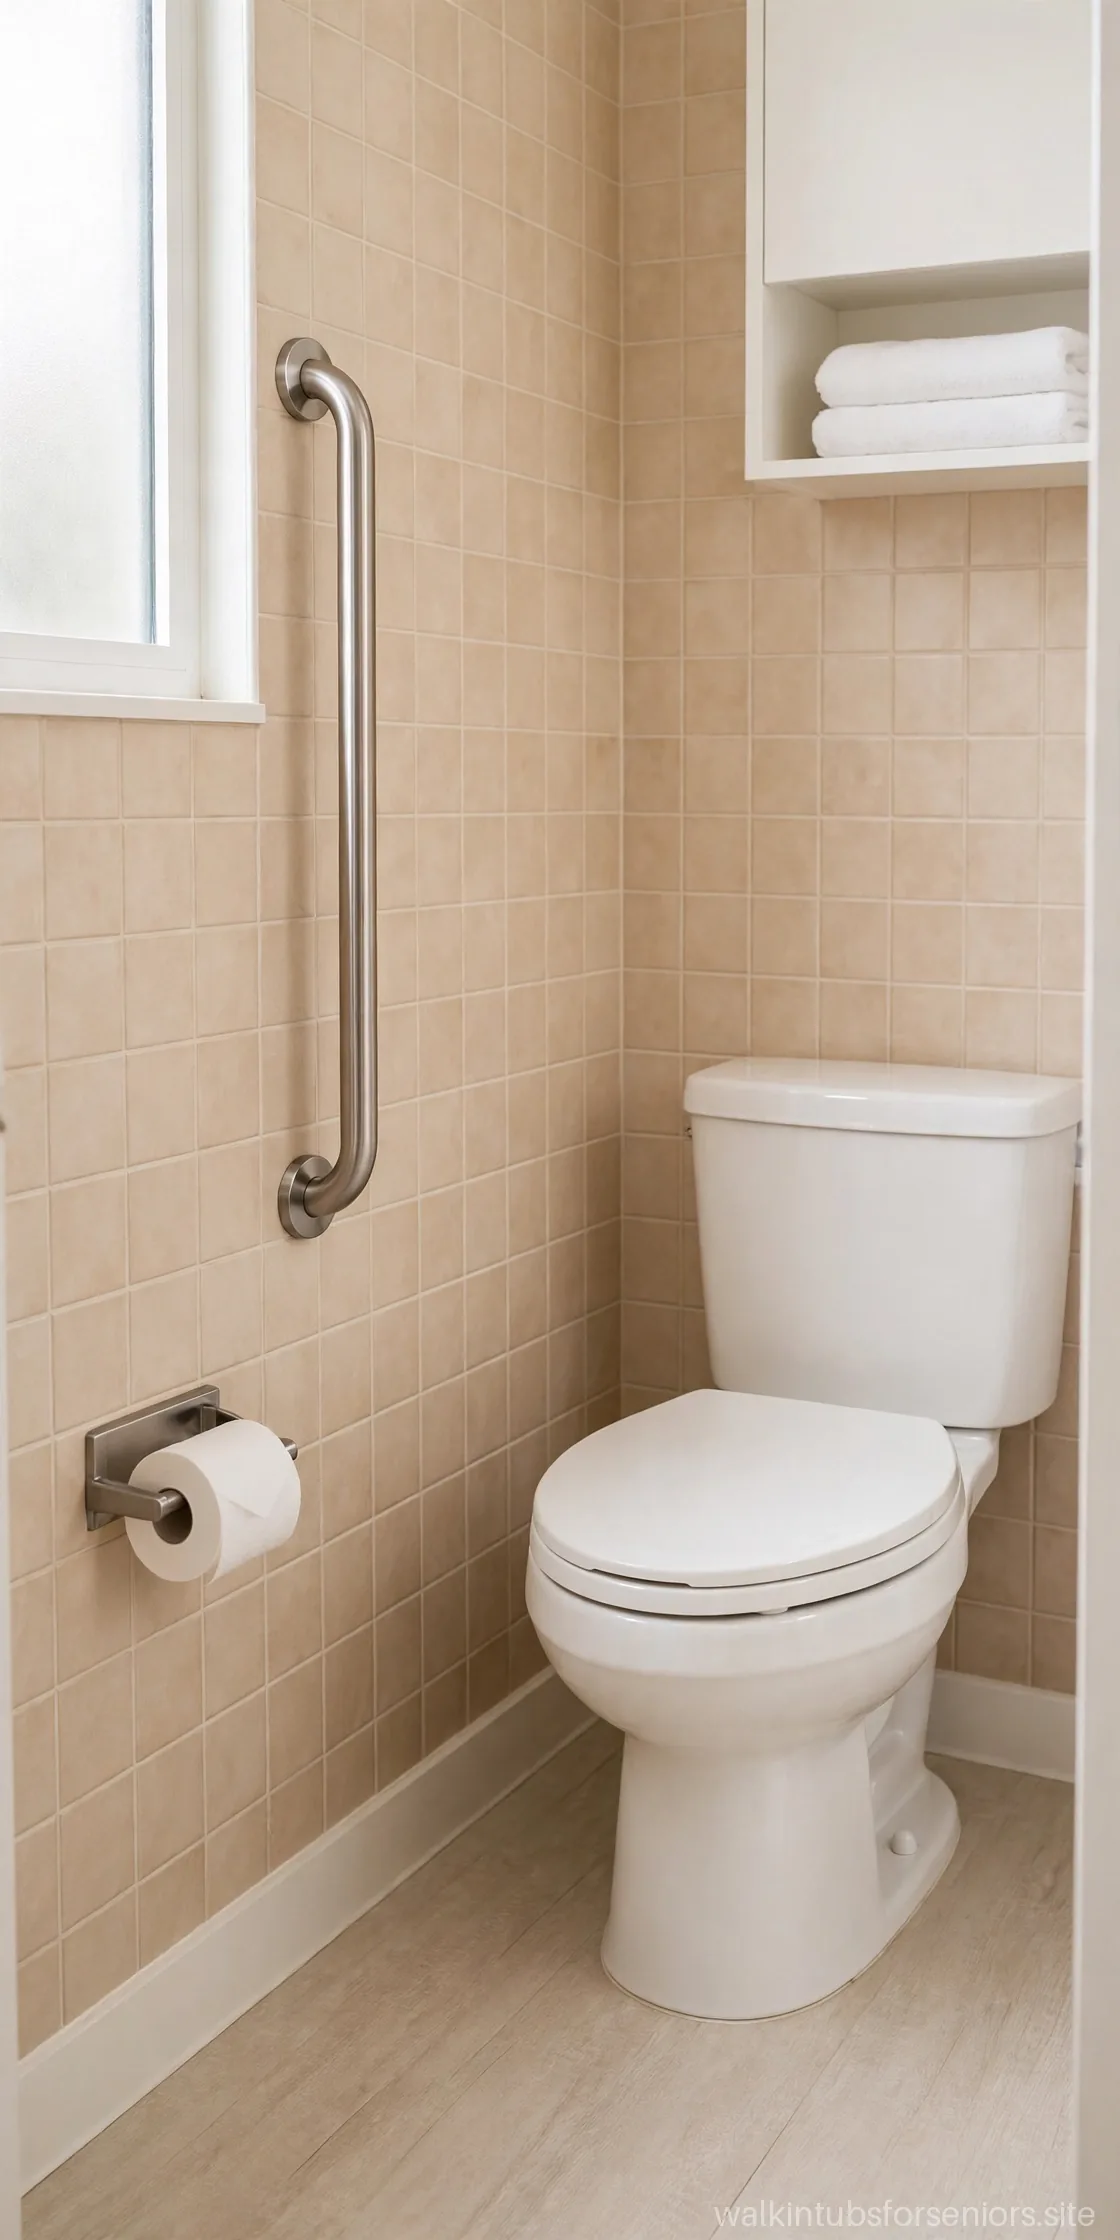
Not all grab bars feel the same in the hand, and for arthritic or weakened grip, the differences are functional, not cosmetic. Knurled or peened stainless steel — with a fine textured pattern machined into the metal — offers the most secure wet grip and is the standard for true safety bars. Polished chrome looks elegant and grips poorly when wet and soapy; it belongs on towel racks, not on safety equipment. Brushed or satin stainless splits the difference: better grip than polished, easier to clean than deeply knurled.
Diameter matters as much as finish. The 1.25 to 1.5 inch range suits most adult hands; thinner bars dig into arthritic joints, thicker bars cannot be fully encircled by smaller hands. Some manufacturers offer vinyl or rubber-coated bars that feel warm and slightly cushioned — pleasant, but verify the coating is rated for constant wet use and will not degrade into a slippery skin. In the showroom, grip each candidate bar with wet hands if you can (bring a damp cloth), and pull hard. The bar that feels secure to your specific hands is the right bar, regardless of what the brochure recommends.
When to bring in an occupational therapist
An occupational therapist (OT) does for bathroom safety what a tailor does for a suit: fits the general solution to your specific body. An OT home assessment observes how you actually move — where you hesitate, what you grab, how you sit and stand — and recommends bar placements, heights, and angles matched to your reach, strength, and limitations. This is particularly valuable after a stroke, joint replacement, or with progressive conditions where needs are changing, and for households where a caregiver assists.
The practical notes: a doctor’s referral often helps with insurance coverage for the assessment (coverage varies — verify with your plan), the assessment typically takes an hour or two, and the resulting recommendations give your installer exact placement specs instead of guesses. Even one session can prevent the common outcome of bars installed where the installer found convenient rather than where you need support. If a full assessment is out of reach, many OTs offer a focused bathroom-only consultation at lower cost — ask.
Weight ratings and how to test a bar yourself
Grab bars carry ratings — commonly 250, 300, or 500 pounds of pull force — and those numbers deserve more attention than they usually get. The rating describes the bar and its mounting hardware as a tested assembly, anchored as the manufacturer specifies. A 500-pound bar anchored to drywall with plastic anchors is a 500-pound bar attached to nothing; the rating is meaningless without the specified anchoring. When comparing bars, read the rating as a promise about the hardware, then make the installation worthy of the promise with stud or structural anchoring.
Testing an installed bar is simple and should become a household habit. Grip it firmly and pull hard in the directions you will actually load it — outward away from the wall, downward, and at the angle of a slip-catch. A properly anchored bar feels absolutely rigid; any flex, creaking, or movement of the mounting flange means the anchoring has loosened or was never structural. Test monthly with a firm pull, and test immediately after any incident where the bar took a real load — catching a fall stresses anchors, and a bar that saved someone once deserves verification before it is trusted again. If a bar ever moves, stop using it for support until it is re-anchored.
For larger bathers, match the rating to reality with margin. If the user weighs 280 pounds, a 250-pound bar is undersized — dynamic loads during a slip exceed static body weight, sometimes substantially. Choose the 500-pound rated bar and anchor it to structure, and you have genuine margin rather than nominal compliance. Ratings are cheap to upgrade at purchase time and expensive to regret later; when in doubt, buy the stronger bar. Your future self, catching a stumble at 2 a.m., will not care what it cost.
Frequently asked questions
How many grab bars does a walk-in tub need?
There is no magic number, but most well-designed tubs include at least two: one for entry and one serving the seat. Three — adding a seated steadying bar — is better. Beyond that, placement beats quantity.
Can I use a towel bar as a grab bar?
Never. Towel bars are designed to hold towels, not people. They will pull out of the wall under body weight, often at the worst possible moment. This is one of the most common and most dangerous bathroom mistakes.
How do I keep grab bars grippy?
Wipe them down with the tub after each bath to prevent soap film buildup, which is the main cause of slippery bars. Avoid oily cleaners. Textured stainless bars need almost no maintenance beyond that.
This guide is general information only — not medical advice and not contractor advice. For personalized fall-risk assessment, talk to your doctor or an occupational therapist; for bar installation, use a qualified installer.