Knowing what installation involves does two things for you: it lets you plan your household around the work, and it lets you recognize good workmanship versus corner-cutting. A walk-in tub installation is a small remodeling project — typically one to three days — with a clear sequence of steps. This guide walks through each one so you can hold your installer to a professional standard.
This is general information about the process, not DIY instructions. Walk-in tub installation involves plumbing, and often electrical work, that should be done by licensed professionals and inspected where your locality requires it.
Before day one: preparation
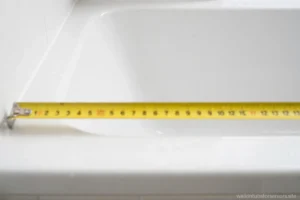
Good installations start before anyone swings a hammer. The installer should confirm the tub model’s exact dimensions against your bathroom measurements, verify the delivery path (doorways, hallways, stair turns — walk-in tubs are bulky), check your water heater capacity and drain location, and confirm electrical requirements if the tub has a pump, blower, or heated seat. Permits should be pulled where required. You should clear the bathroom completely, protect nearby floors and furniture from dust, and arrange for the bathroom to be out of service — plan which other bathroom you will use.
Step 1: Demolition and removal
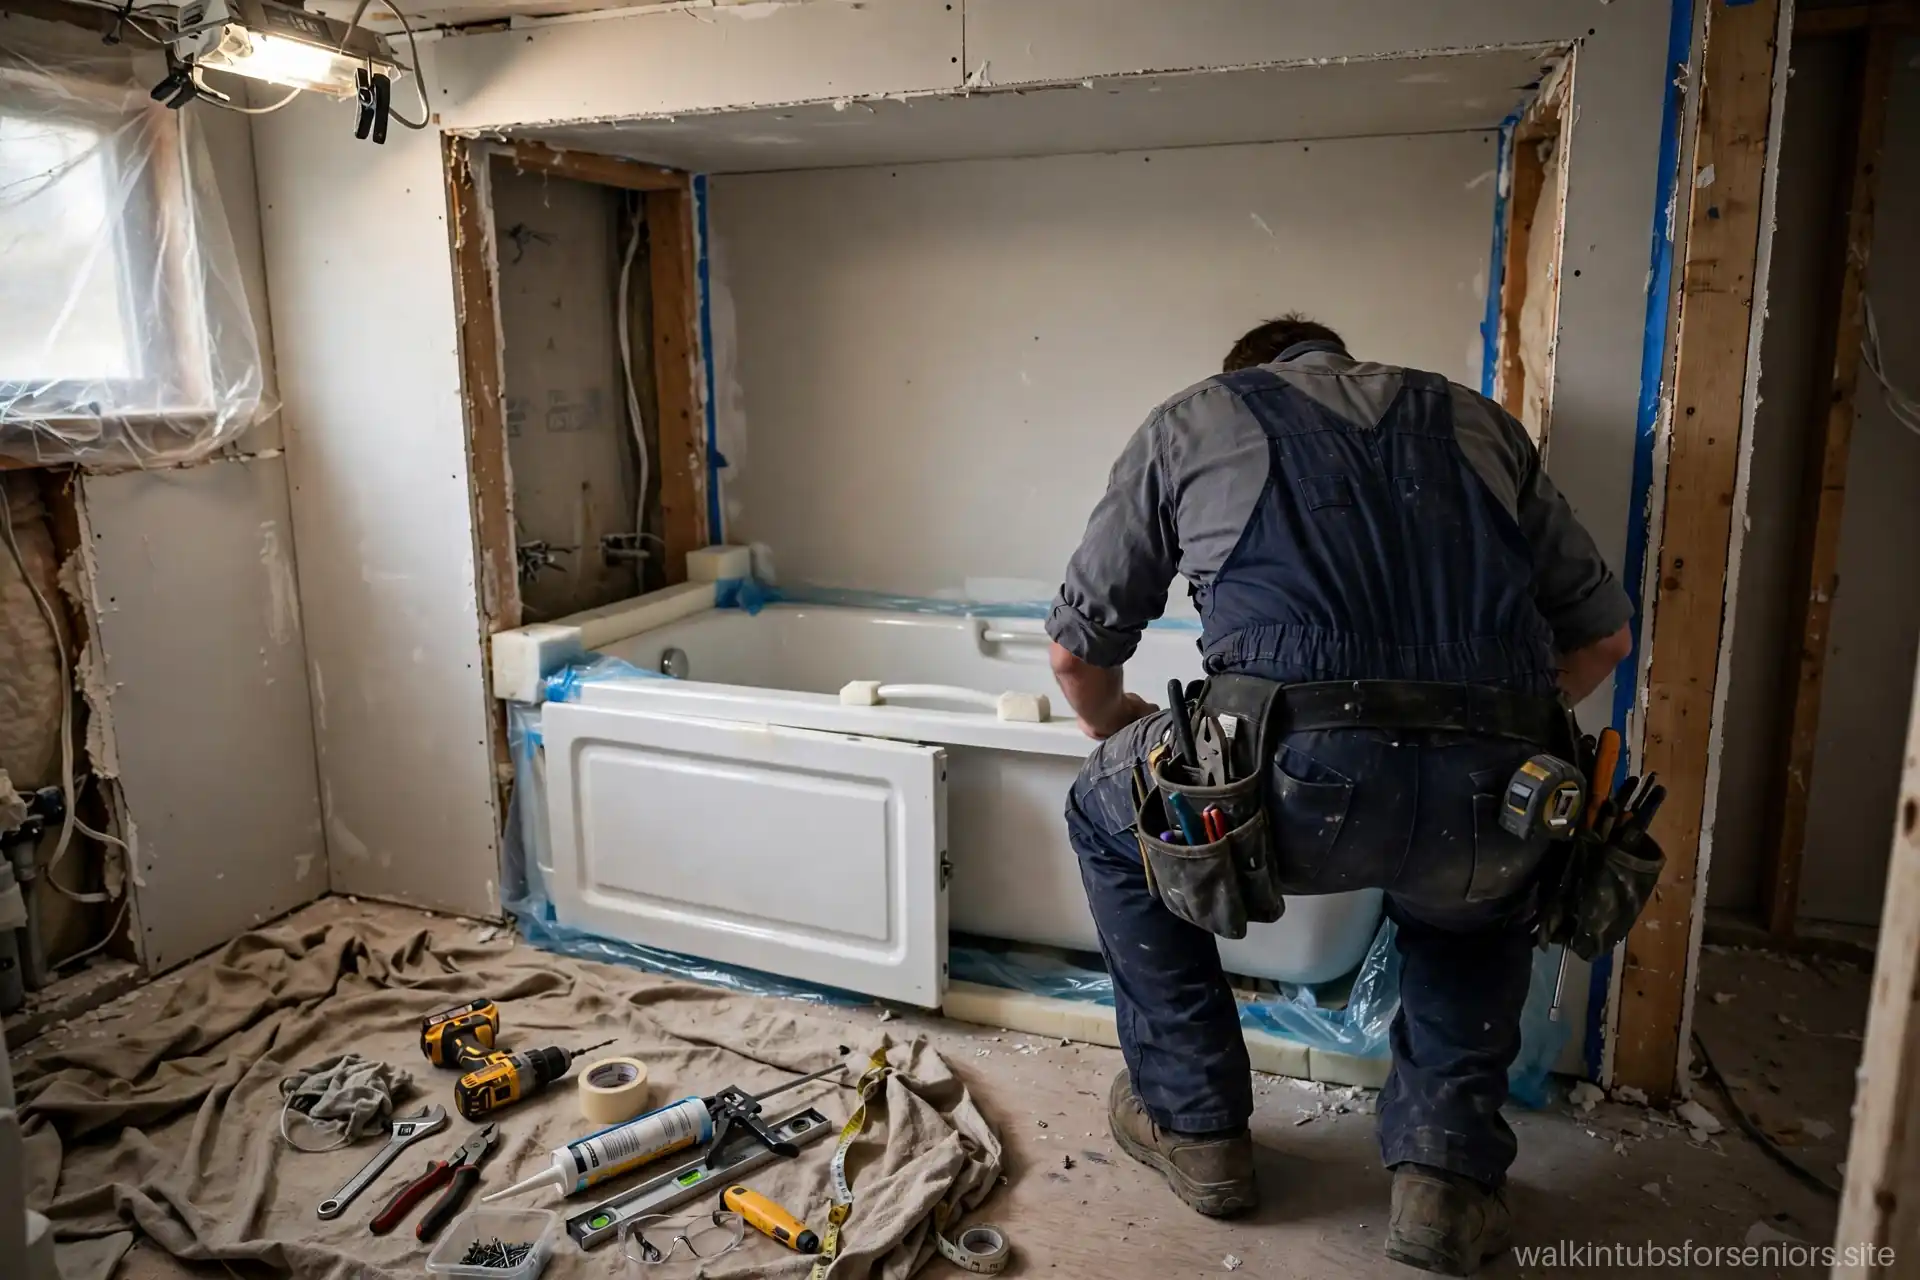
The old tub or shower comes out first, along with the surrounding wall material (tile, surround panels) back to the studs in the immediate area. This is the dusty, noisy phase — typically half a day. The exposed wall cavity and subfloor get their first real inspection in years, and this is when hidden problems surface: rotted subfloor from old leaks, mold inside walls, or framing that needs reinforcement. A professional fixes what must be fixed before proceeding and documents the extra work rather than covering it up.
Step 2: Plumbing and electrical rough-in
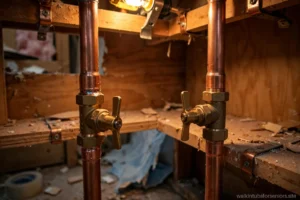
With the old fixture out, the plumber adjusts the water supply lines and drain to match the new tub’s connection points. Walk-in tub drains do not always sit where the old tub’s drain sat, so this step can involve moving the drain in the floor — straightforward on a crawlspace or basement ceiling below, more involved on a concrete slab. If the tub needs a dedicated GFCI circuit, the electrician runs it now, while walls are open. Rough-in work is inspected in jurisdictions that require it — never let anyone talk you into skipping a required inspection.
Step 3: Setting the tub
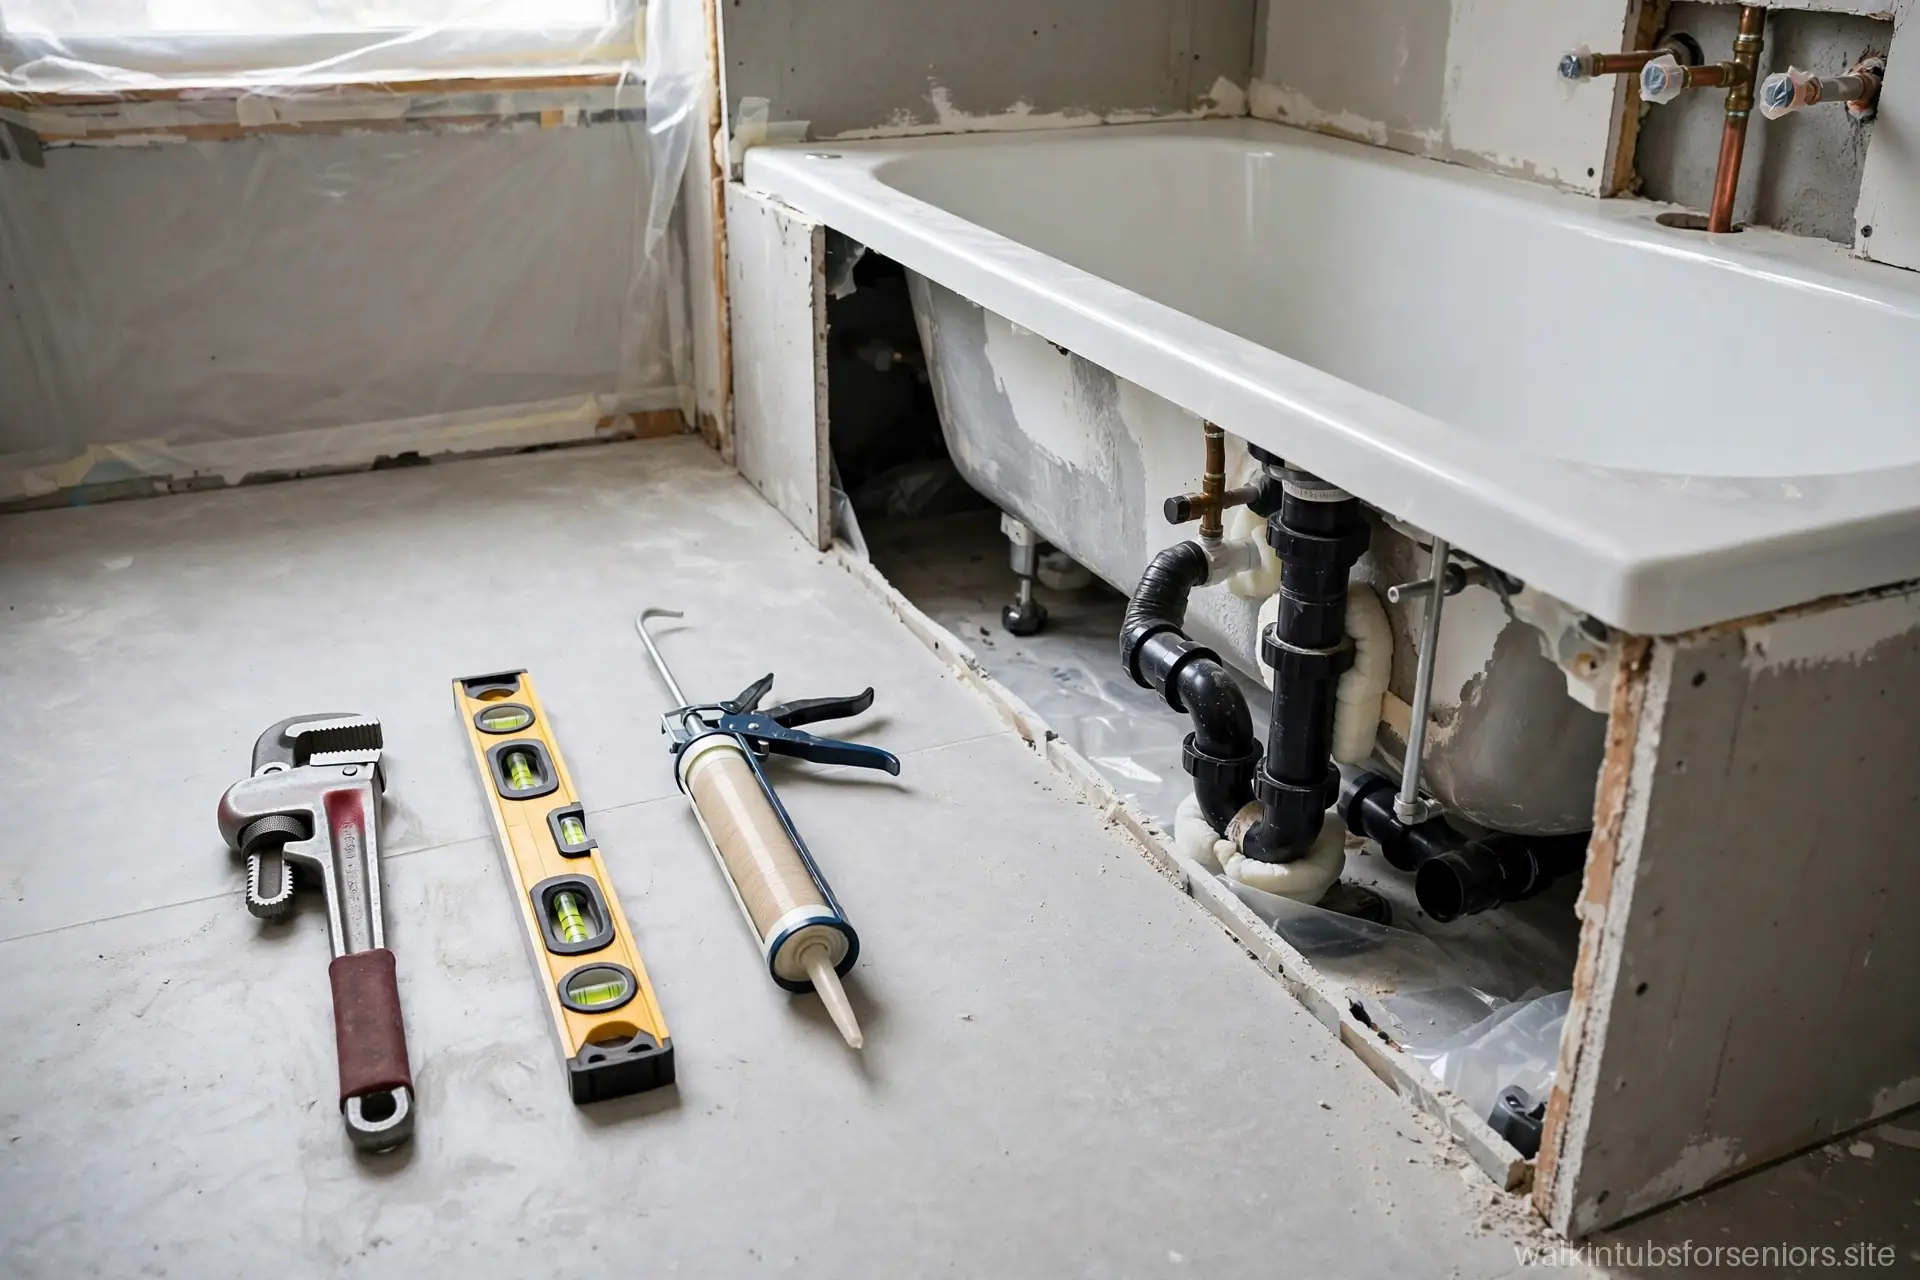
The new tub is brought in, test-fit, and set in place. Critical details: the tub must be perfectly level (an unlevel tub drains poorly and stresses the door seal), supported per the manufacturer’s instructions (usually a mortar bed or leveling feet — never just shimmed and hoped), and positioned with required clearances for the door swing and the access panel. The installer connects the drain assembly with proper seals and the water lines with shutoff valves accessible for future service. Then comes the first water test: fill the tub, check every connection and the door seal for leaks, and drain fully.
Step 4: Walls, surround, and sealing
With the tub set and tested, the walls go back: cement board or appropriate backer in wet areas, then tile or surround panels, sealed to the tub flange. Caulking is the unsung hero here — every joint between tub and wall must be sealed with quality silicone, tooled smooth, and allowed to cure. Sloppy caulk is the number one cause of water getting behind tubs, so watch this step: neat, continuous beads with no gaps.
Step 5: Finish work and final testing
Trim, paint touch-up, and accessory mounting (shower head, curtain rod or glass) come next. Then the full final test: fill completely, run the jets or blower if equipped, verify the heated seat, test the drain speed, check the door seal under full pressure, and confirm the anti-scald valve limits temperature correctly. The installer should walk you through operating everything — door latch, controls, cleaning routine — before leaving. Get the warranty paperwork, the owner’s manual, and the installer’s contact information in hand.
What good workmanship looks like
You do not need to be a contractor to spot quality. Level and plumb surfaces, tight and even caulk lines, no wobble when you lean on the tub edge, a door that latches with a confident click, water that drains without gurgling or hesitation, and a work area left clean. If something looks off, say so before final payment — reputable installers fix punch-list items promptly because their reputation depends on it.
Good installation also protects your budget: a tub set right the first time avoids the service calls that eat into the value of the project. If you are weighing the whole project cost, budget the full picture before signing — and if the surrounding bathroom needs attention too, a senior-friendly bathroom on any budget shows how to layer affordable safety upgrades around the new tub.
How tub style affects the install
A basic soaker is the simplest install: plumbing only, no new electrical. Add hydrotherapy and you add the electrician’s visit and the circuit. Bariatric or oversized models may need a wider rough opening and extra floor verification. When choosing between styles, factor the installation differences into the decision — our soaker vs. hydrotherapy comparison covers the tradeoffs from the buyer’s side.
Preparing your home: the week before
A little preparation prevents most installation-day friction. Clear the bathroom completely — every bottle, rug, and accessory out, not just pushed aside. Clear the delivery path: move furniture, roll up hallway rugs, take pictures off walls in tight turns, and protect floors the crew will cross with drop cloths or cardboard. Identify the alternate bathroom and stock it for the duration. If you have pets, arrange for them to be secured away from the work area — open doors, loud noises, and strangers are a bad combination for animals.
Practical details people forget: confirm where the crew will park and stage materials, ensure they have access to a working toilet and a place to wash up, move valuables away from vibration zones (demolition shakes walls), and tell neighbors if the work starts early — goodwill is free. Charge your phone, keep the installer’s mobile number handy, and plan to be reachable but not hovering: available for decisions, out of the work zone. The crews that do the best work are the crews given clear access and left to work.
After installation: the first month
The first month is the shakedown period — use it deliberately. Take baths normally but attentively: watch for any dampness around the door base, the tub-to-wall joints, or the access panel after each use, and report anything immediately rather than “keeping an eye on it.” Operate every feature — jets, blower, heated seat, hand-held shower, anti-scald — and confirm each works as demonstrated. Keep a dated note of any concern, however small; warranty claims are strongest when the timeline is documented from the start.
Establish the maintenance routine now, while the manual is still on the counter: the after-every-bath wipe-down, the weekly deeper clean, the monthly jet flush if applicable, and the gasket wipe. Put the warranty registration, installer invoice, and manual in one folder — physical or digital — where you will find them in five years. And schedule any promised follow-up: reputable installers offer a check-in visit or at least a phone call after the first weeks. The installation is not finished when the crew leaves; it is finished when the tub has proven itself through a month of real baths.
The inspection: what inspectors actually check
If your project requires permits — and most walk-in tub installs do, once plumbing and electrical are touched — an inspector will visit, and knowing what they check turns inspection day from anxiety into routine. The plumbing inspector verifies the drain connection is properly trapped and vented, the water supply lines are correctly connected with accessible shutoffs, and the anti-scald device is present and set. They will run water, watch it drain, and check for leaks at every connection they can see. Nothing exotic — just confirmation that the work meets code.
The electrical inspector, if a separate visit, checks the dedicated circuit: proper breaker sizing, GFCI protection where required, correct wiring methods, and that the tub’s electrical components are listed and installed per manufacturer instructions. They may ask to see the tub’s electrical specifications — your installer should have them on hand. If your panel was upgraded or a new circuit run, the inspector verifies that work too. Failed inspections are rarely disasters; the inspector issues a correction list, the installer fixes the items, and a re-inspection is scheduled. Most corrections are minor.
Your role is simple: be present or have someone present, keep the work area accessible, and keep the permit card and approved plans on site. Do not hover or argue code with the inspector — that is your installer’s job, and a good installer welcomes inspections because passing them validates the work. One caution: if an installer suggests skipping permits to save money, treat it as a major red flag. Unpermitted work can void warranties, complicate insurance claims, and surface painfully at resale when the buyer’s inspector finds a bathroom with no permit history. The inspection is your free quality audit — want it, don’t dodge it.
Frequently asked questions
Do I need to leave home during installation?
No. The work is contained to the bathroom, though it is noisy and dusty during demolition. Plan to be out of the house or in another room during the loudest phases if noise bothers you, and arrange an alternate bathroom for the duration.
What happens to my old tub?
Reputable installers include demolition debris removal and disposal in the quote — confirm this in writing. Old cast-iron tubs are sometimes recycled for scrap value; fiberglass usually goes to disposal.
Will there be an inspection?
Many localities require plumbing and/or electrical inspection for fixture replacement. Your installer should know the local rules and schedule inspections. Work that skips required inspections can cause problems with insurance claims and home sales later.
This guide is general information only — not contractor advice. Hire licensed professionals for plumbing and electrical work, and verify permit and inspection requirements with your local building department.