The most expensive mistake in a walk-in tub project is also the most preventable: ordering a tub that does not fit. Not just the alcove — the door swing, the delivery path through your house, the plumbing connections, the access panel clearance. Professional installers measure all of it; this guide shows you what “all of it” means, so you can verify and participate rather than hope.
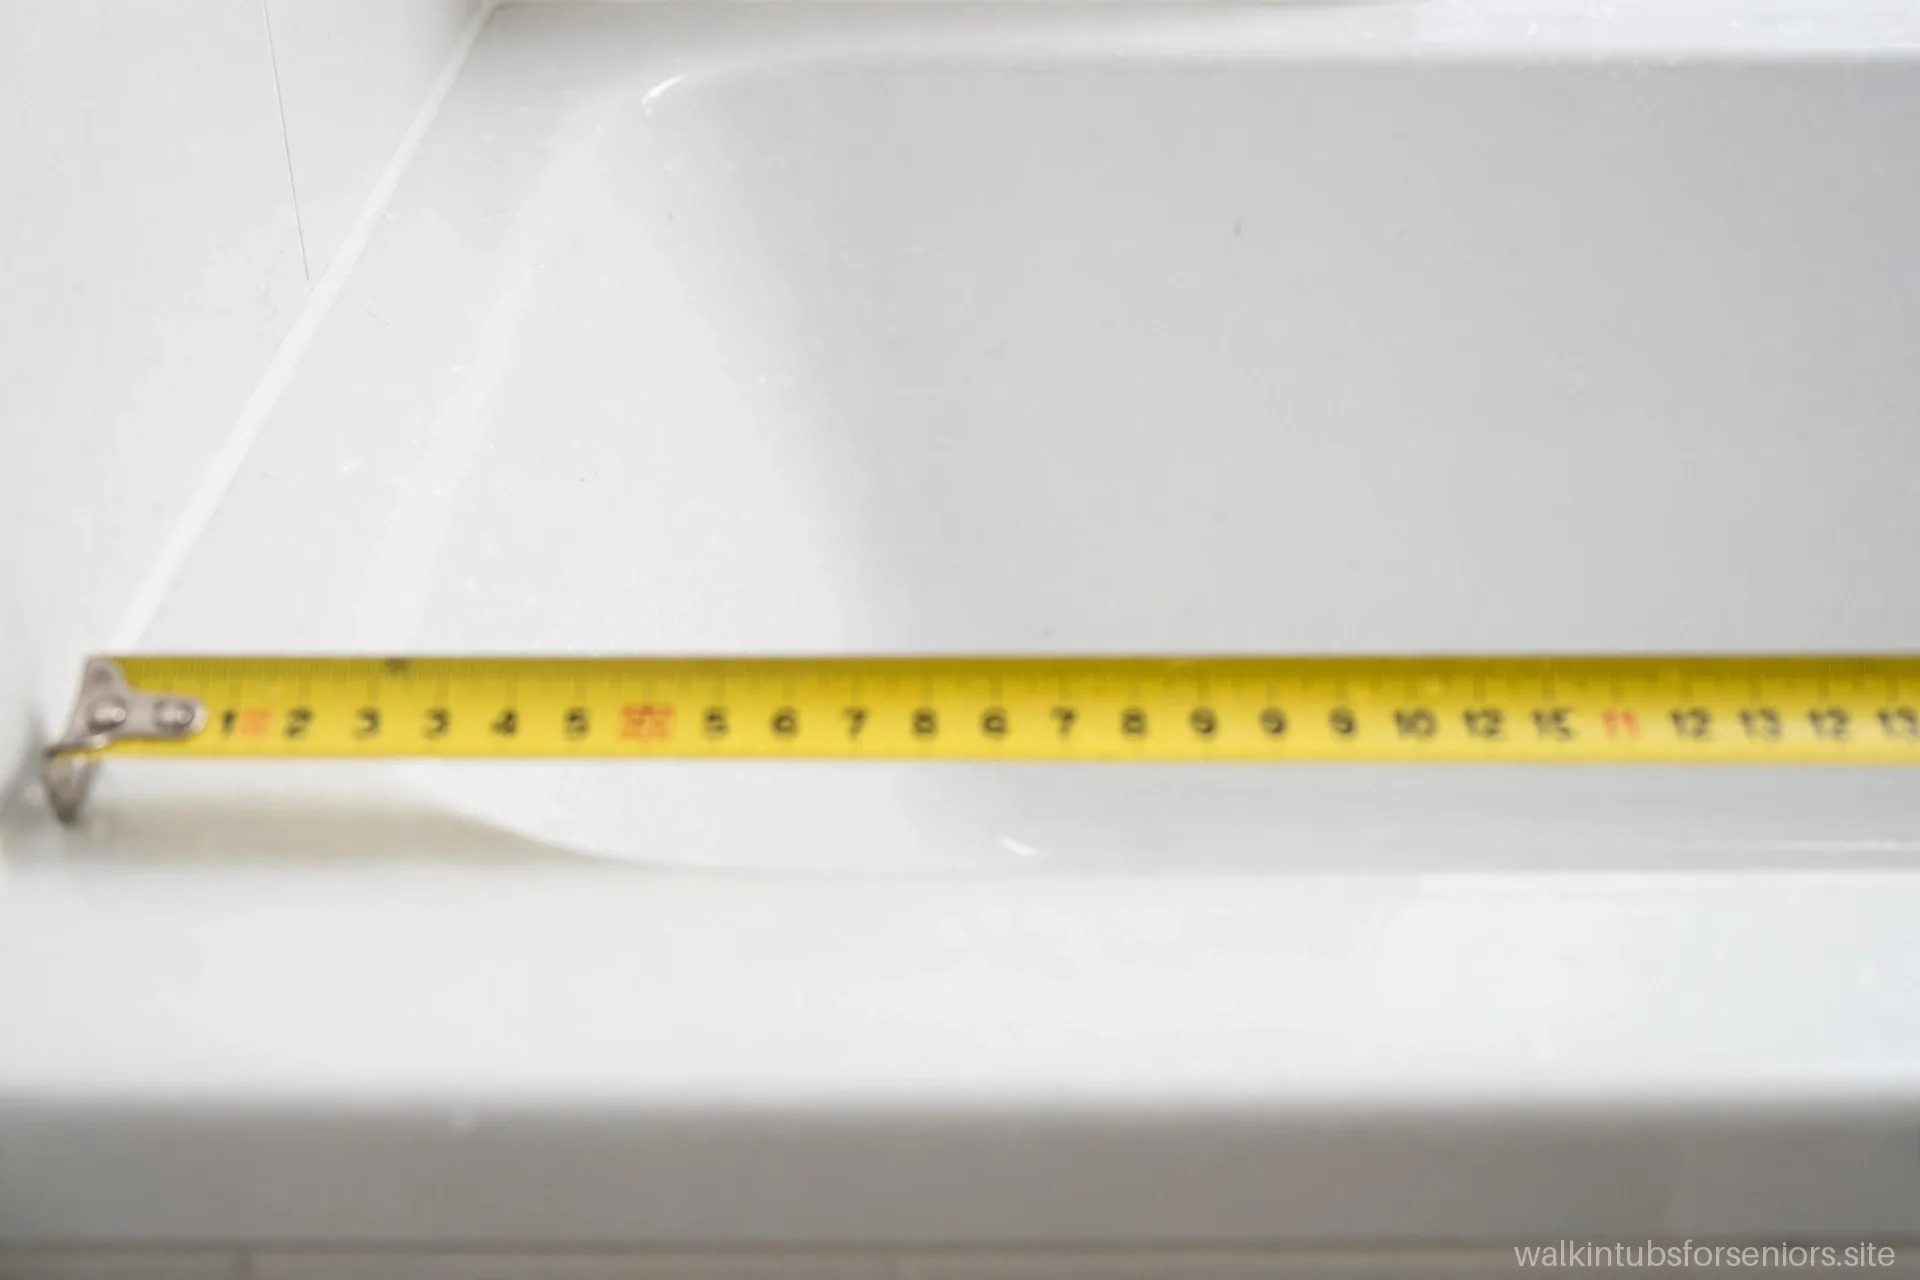
Measure with a steel tape measure, not a guess and not a phone app. Write every number down. And measure twice — the second pass catches the errors that cost thousands.
The alcove: length, width, and depth
Start with the space the tub will occupy. Measure the alcove’s length (wall to wall) and width at several points — walls are rarely perfectly square, and the smallest measurement is the one that counts. Standard alcoves run about 60 inches long and 30 to 32 inches wide, but older homes vary. Also measure the alcove depth from the back wall to the front edge, and note the height of the existing tub’s top edge for reference.
Compare these numbers against the tub’s outer dimensions on the manufacturer’s specification sheet — not the bathing-well dimensions, which are smaller. Allow the manufacturer’s stated clearance on each side; a tub that fits with a quarter inch to spare on paper will not fit once walls, plumbing, and human hands enter the equation.
Door swing and front clearance
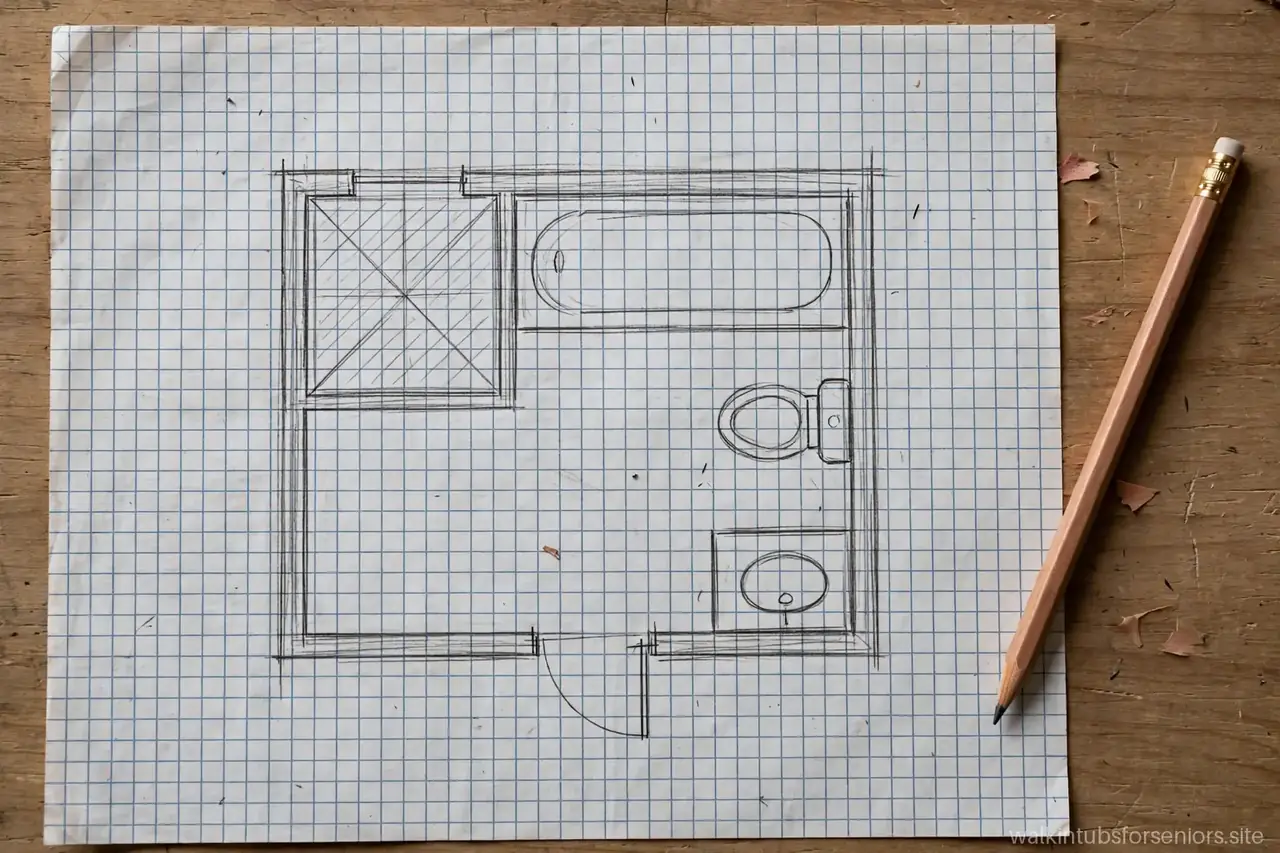
For an outward-swinging door, measure the clear floor area in front of the tub: you need the full swing arc unobstructed by the vanity, toilet, or walls. Sketch the arc on the floor with painter’s tape and walk through the entry motion. For an inward-swinging door, verify clearance inside the bathroom for standing in front of the tub while the door opens toward you.
Door choice interacts with your whole safety plan — our door types guide compares inward vs. outward swing on sealing, emergency access, and space needs, which pairs directly with these measurements.
The delivery path: the forgotten measurement
The tub must travel from the truck to the bathroom. Measure every doorway, hallway width, and stairwell turn along the route — including the front door and any interior doors, with the doors’ swing accounted for. Walk-in tubs are bulky one-piece shells; a hallway that fits a sofa may not fit a tub’s rigid dimensions. Note ceiling heights on stairs (tub carriers tilt) and check for tight turns where a long tub simply cannot rotate.
If the path fails, options include removing a door from its hinges (gains an inch or two), removing a window for ground-floor delivery (real but costly), or choosing a smaller model. Discover this during planning, not on delivery day with a truck idling outside.
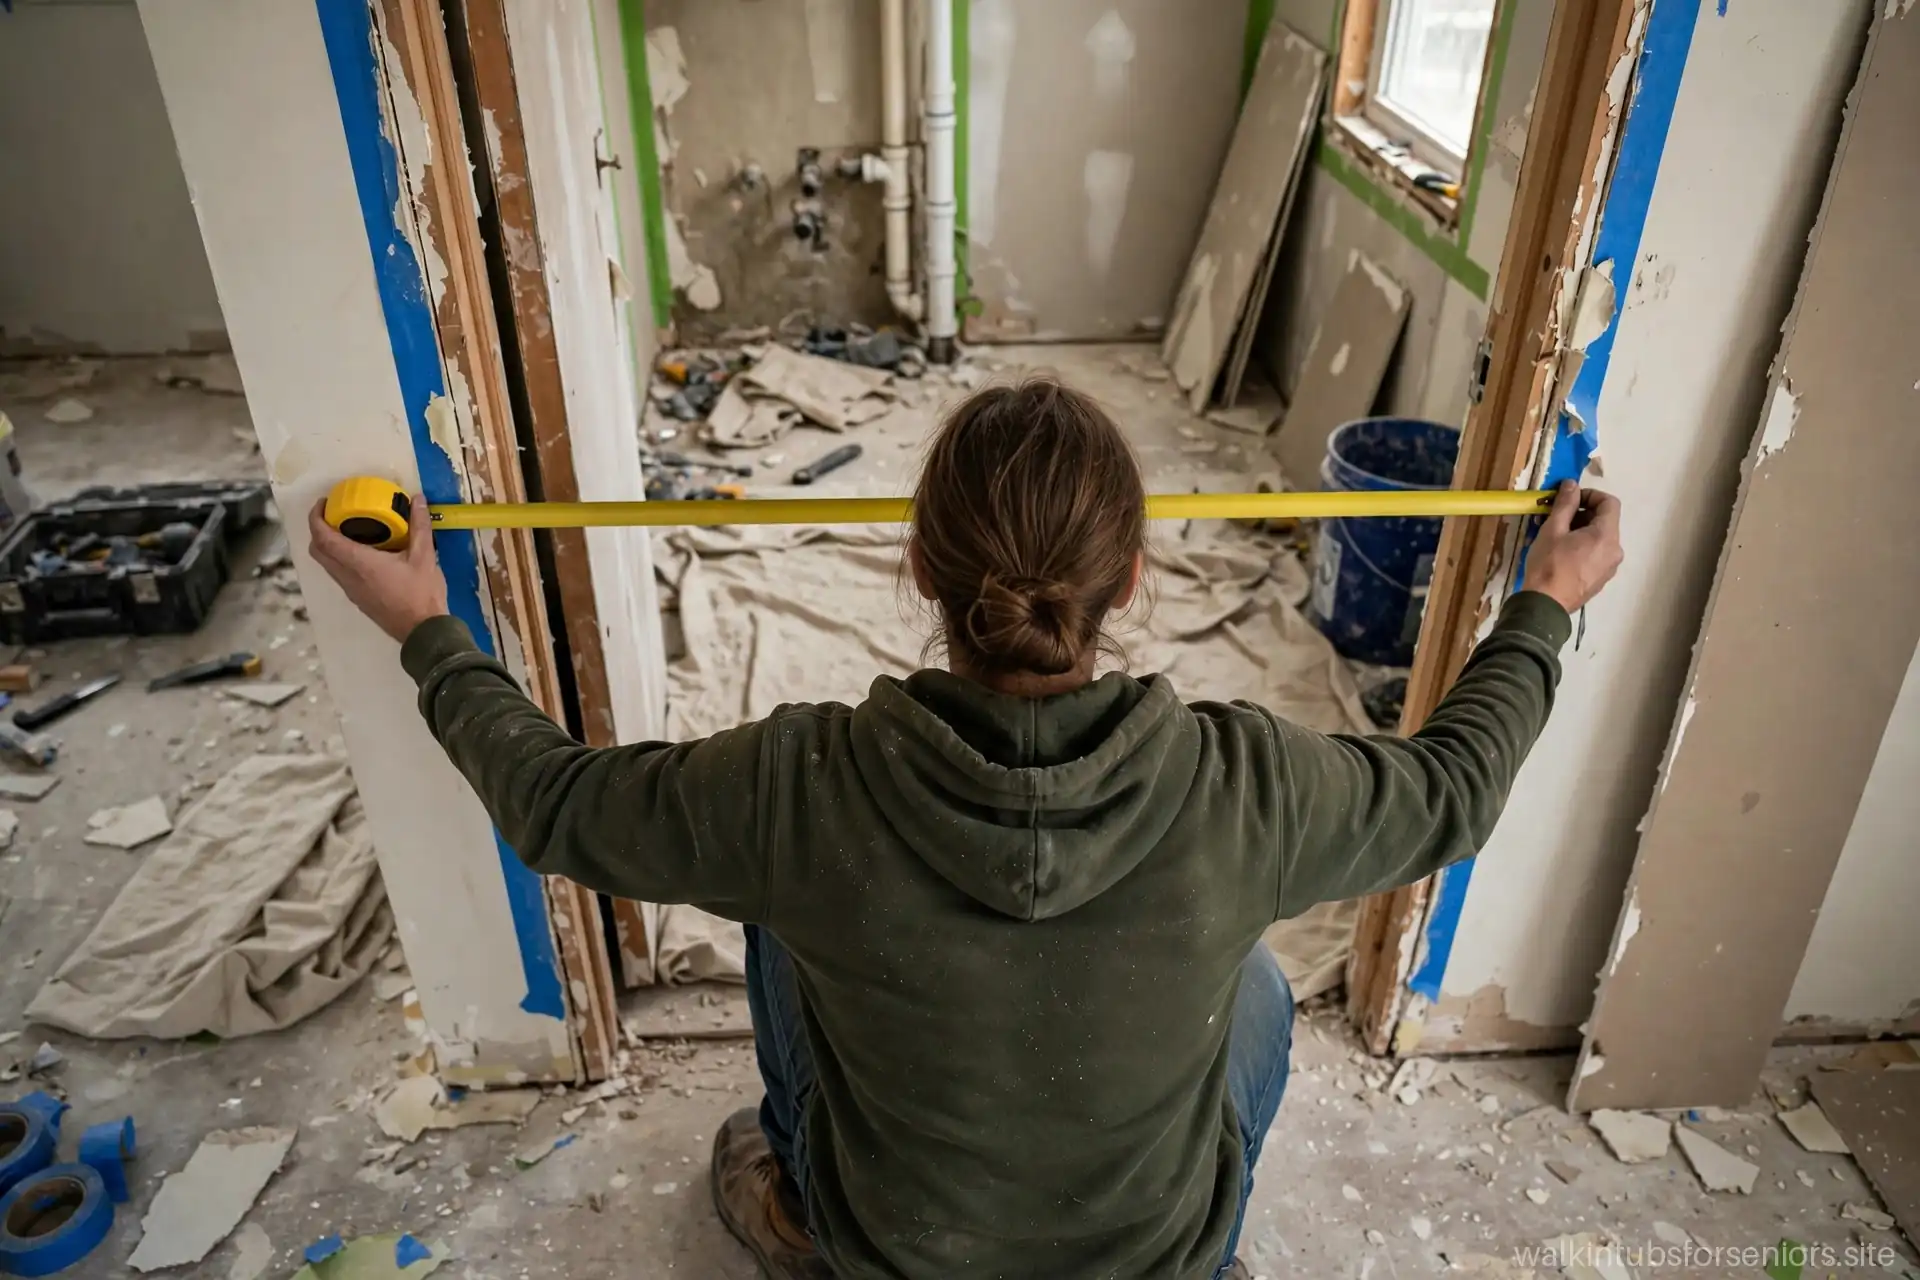
Plumbing locations
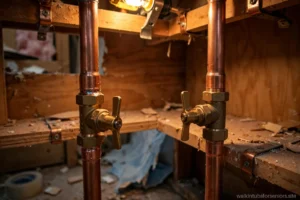
Note where your current drain sits (measure from two walls so the position is unambiguous) and where the hot and cold supply lines enter. Compare against the new tub’s specification sheet: if the drain must move, your installer needs to know before quoting, because moving a drain through a slab versus through an open basement ceiling is a very different job. Photograph everything with the tape measure visible — photos with numbers beat memory.
Access panel and service clearance
Jetted tubs have pumps and blowers that need future service access, usually through a removable panel on the tub’s exterior. Identify where that panel will sit in your finished bathroom and confirm it will not be sealed behind tile or blocked by a vanity. A pump that cannot be reached cannot be serviced — and “we’ll cut access later” is how bathroom walls get patched holes.
Entry height and user measurements
Measure the threshold height you will step over (tub specification plus your floor height) and sanity-check it against the user’s comfortable step height. If possible, have the primary user step over a measured obstacle of that height at home — a stack of books works — to confirm comfort. Also note the seated height and reach distances if the user is particularly short, tall, or large; showroom sitting validates what numbers suggest.
The complete measuring checklist
Your final list: alcove length, width (multiple points), and depth; door swing arc clearance; delivery path doorways, hallways, and turns; drain position from two walls; supply line positions; access panel location and clearance; threshold step height; and ceiling height above the tub (for shower-riser options). Bring this list and your numbers to every showroom visit and installer quote — it signals that you are an informed buyer, and informed buyers get better work.
Measurements feed directly into model selection: once you know your numbers, warranties become the next filter, since a tub that fits but is poorly backed is no bargain.
Common measuring mistakes
The most expensive measuring mistake is measuring the bathing well instead of the outer shell — the tub that fits your alcove on the spec sheet’s interior dimensions will not fit when the full shell arrives. Always use the manufacturer’s stated outer dimensions, plus the required clearances. The second mistake is measuring once, at one height: walls lean, floors slope, and the narrowest point governs — measure length and width at several heights and use the smallest numbers.
Third: forgetting the human factor in the delivery path. A hallway that measures wide enough on paper may have a handrail, a door frame, or a light fixture that steals the critical inches — measure the clear path, accounting for every protrusion. Fourth: measuring the drain position from one wall instead of two, which leaves its position ambiguous — two measurements triangulate it exactly. Fifth: not photographing everything with the tape measure visible. Photos with numbers resolve every later dispute about what was measured and when. Measure twice, photograph once, and bring it all to every appointment.
Working with your installer on fit
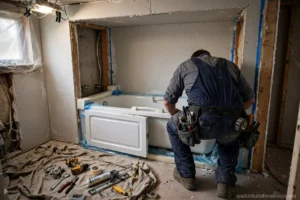
Your measurements make you an informed buyer; your installer’s measurements govern the order. Expect the installer to verify everything independently during a pre-installation site visit — and be wary of any installer who quotes a tub without seeing the bathroom. Walk the space together: point out your delivery-path concerns, ask where the access panel will land, confirm the door swing against your painter’s-tape arc, and discuss what happens if demolition reveals problems.
Ask directly: “What is the tightest fit you have handled, and what made it work?” Experienced installers have stories — a tub that needed a window removed, an alcove reframed by an inch — and their comfort with tight fits tells you about their skill. Get the final verified dimensions in writing as part of the contract scope, so that if the ordered tub does not fit, the responsibility is clear. The installer’s confidence, documented, is worth more than any brochure’s “fits standard alcoves” claim.
When the numbers are borderline: tight-fit decisions
Sometimes the tape measure delivers the worst answer: the tub almost fits. An inch short on the alcove, a door swing that clears the vanity by a finger’s width, a delivery path with one tight turn. Borderline measurements are where expensive mistakes are born, so treat them with a formal decision process rather than optimism. First, re-measure everything twice, with a second person verifying — a surprising number of “tight fits” are measuring errors, and an error discovered now is free.
If the numbers hold, get the manufacturer’s installation manual — not the brochure, the manual — and check the required clearances, not just the tub’s outer dimensions. Manufacturers specify minimum gaps for leveling, plumbing connections, and service access; a tub that matches the alcove exactly but needs two inches of working clearance does not fit. Next, model the tight spots physically: cardboard cutouts taped to the floor for footprint questions, a broomstick swept through the door arc for swing questions. What looks fine on paper often reveals itself in three dimensions.
When it is genuinely borderline, you have three honest options. One: choose the smaller model — a compact tub that installs cleanly beats a full-size tub shoehorned in with compromised clearances and no service access. Two: modify the bathroom — moving a vanity or reframing a wall is sometimes cheaper than the regret of a bad fit. Three: walk away from that model entirely and reassess, because a tub that barely fits will annoy you daily for decades. Never let a salesperson’s “it’ll fit, we do these all the time” override your measurements. Their confidence is free; your bathroom is not.
When the stakes are high and the measurements are tight, consider paying for a professional measure. Many dealers and installers offer a pre-order site visit — sometimes free with a purchase commitment, sometimes for a modest fee — where an experienced measurer verifies every dimension and flags the issues homeowners miss: the out-of-square corner, the bowed wall, the floor that slopes a half inch across the alcove. That visit has saved more projects than any other single step, because professionals measure for installation reality, not just nominal fit.
If you go this route, be present for the visit and ask the measurer to talk through each number — what it is, why it matters, and what the fallback is if it is wrong. You will learn more in that hour than in weeks of online research, and you will have a professional’s name attached to the numbers, which matters if a fit dispute arises later. A professional measure does not replace your own diligence; it validates it. And validation, on a five-figure project, is cheap.
Frequently asked questions
Should I measure or leave it to the installer?
Both. Your measurements make you an informed shopper; the installer’s professional measurements govern the actual order and installation. If your numbers and theirs disagree significantly, find out why before proceeding.
My bathroom is an odd shape. Are custom sizes available?
Some manufacturers offer multiple sizes and corner models, but true custom shells are rare and expensive. An experienced installer can often adapt a standard tub to an irregular space with framing and surround work — get this assessed in person.
Can I use a cardboard template?
Yes — a full-size footprint template from cardboard or painter’s tape on the bathroom floor is an excellent reality check for how the tub will dominate the room. Do it before you order, not after delivery.
This guide is general information only — not contractor advice. Final measurements and fit verification should be done by your licensed installer before ordering.