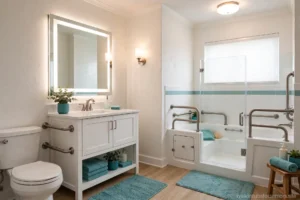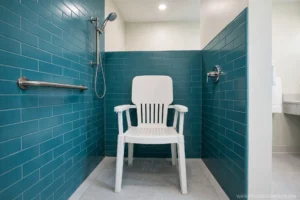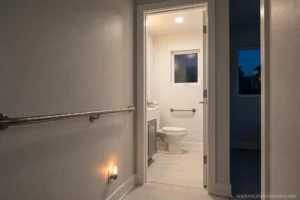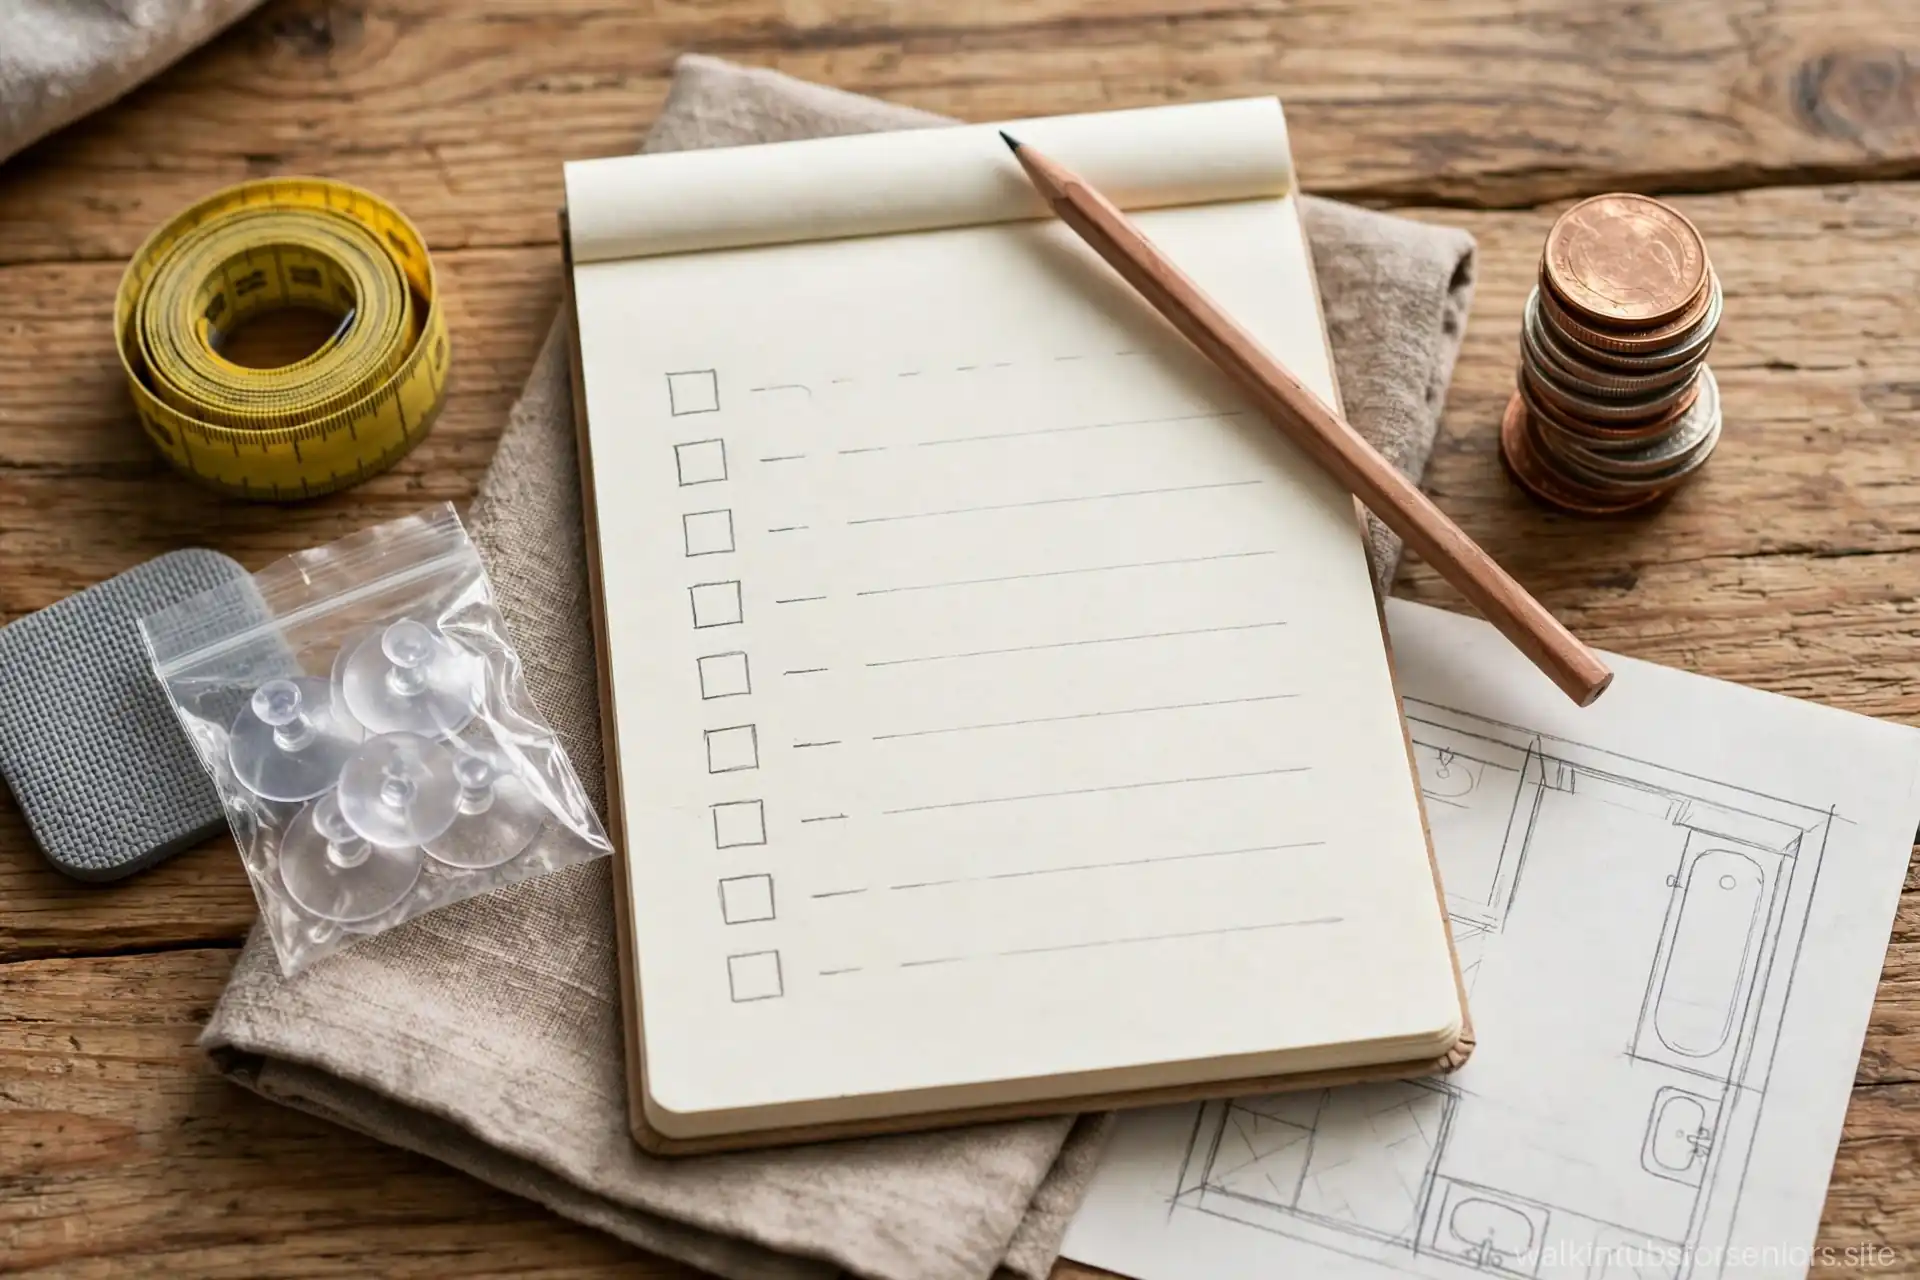
A safer bathroom does not require a five-figure remodel. In fact, the highest-impact safety improvements are among the cheapest: better lighting, secured rugs, grab bars, and cleared clutter cost little and prevent the falls that send people to the emergency room. The expensive projects — a walk-in tub, new flooring — matter too, but they should come after the basics, not instead of them.
This guide organizes bathroom safety upgrades into three budget tiers, in priority order, so you can start this weekend with what you have and plan the bigger investments deliberately. Costs are illustrative.
Tier 1: Free this weekend
Start with what costs nothing. Declutter: remove everything from the bathroom floor and from the path to it — laundry baskets, scales, trash cans, cords. Secure or remove rugs: every loose rug either gets a non-slip pad or leaves the bathroom. Rearrange storage: move daily items to between waist and shoulder height so nobody reaches overhead or bends deep. Improve lighting: clean every fixture cover, replace dim bulbs with brighter LEDs, and put a nightlight on the bed-to-bathroom path. Establish habits: sit to dress, keep a phone in the bathroom, never rush on wet tile.
This tier alone meaningfully reduces risk, and it costs nothing but an afternoon. Do it before spending a dollar on anything else.
Tier 2: Under $100 total
Small purchases, large returns. Non-slip treatment: adhesive non-slip strips or a quality bath mat with rubber backing for the existing tub or shower floor (illustratively $15–$40). Nightlights: motion-activated LED nightlights for the hallway and bathroom ($10–$25 for a multipack). Shower upgrades: a basic hand-held shower diverter kit makes seated or assisted bathing far easier ($25–$60). Raised toilet seat: a clamp-on raised seat eases the hardest daily movement ($25–$50). Better bulbs: bright LED replacements for every bathroom fixture ($10–$20).
For under a hundred dollars, a bathroom can go from hazardous to reasonably safe for a steady, careful adult. This is the tier to complete while researching bigger projects.
Tier 3: The smart mid-range investments ($100–$1,500)
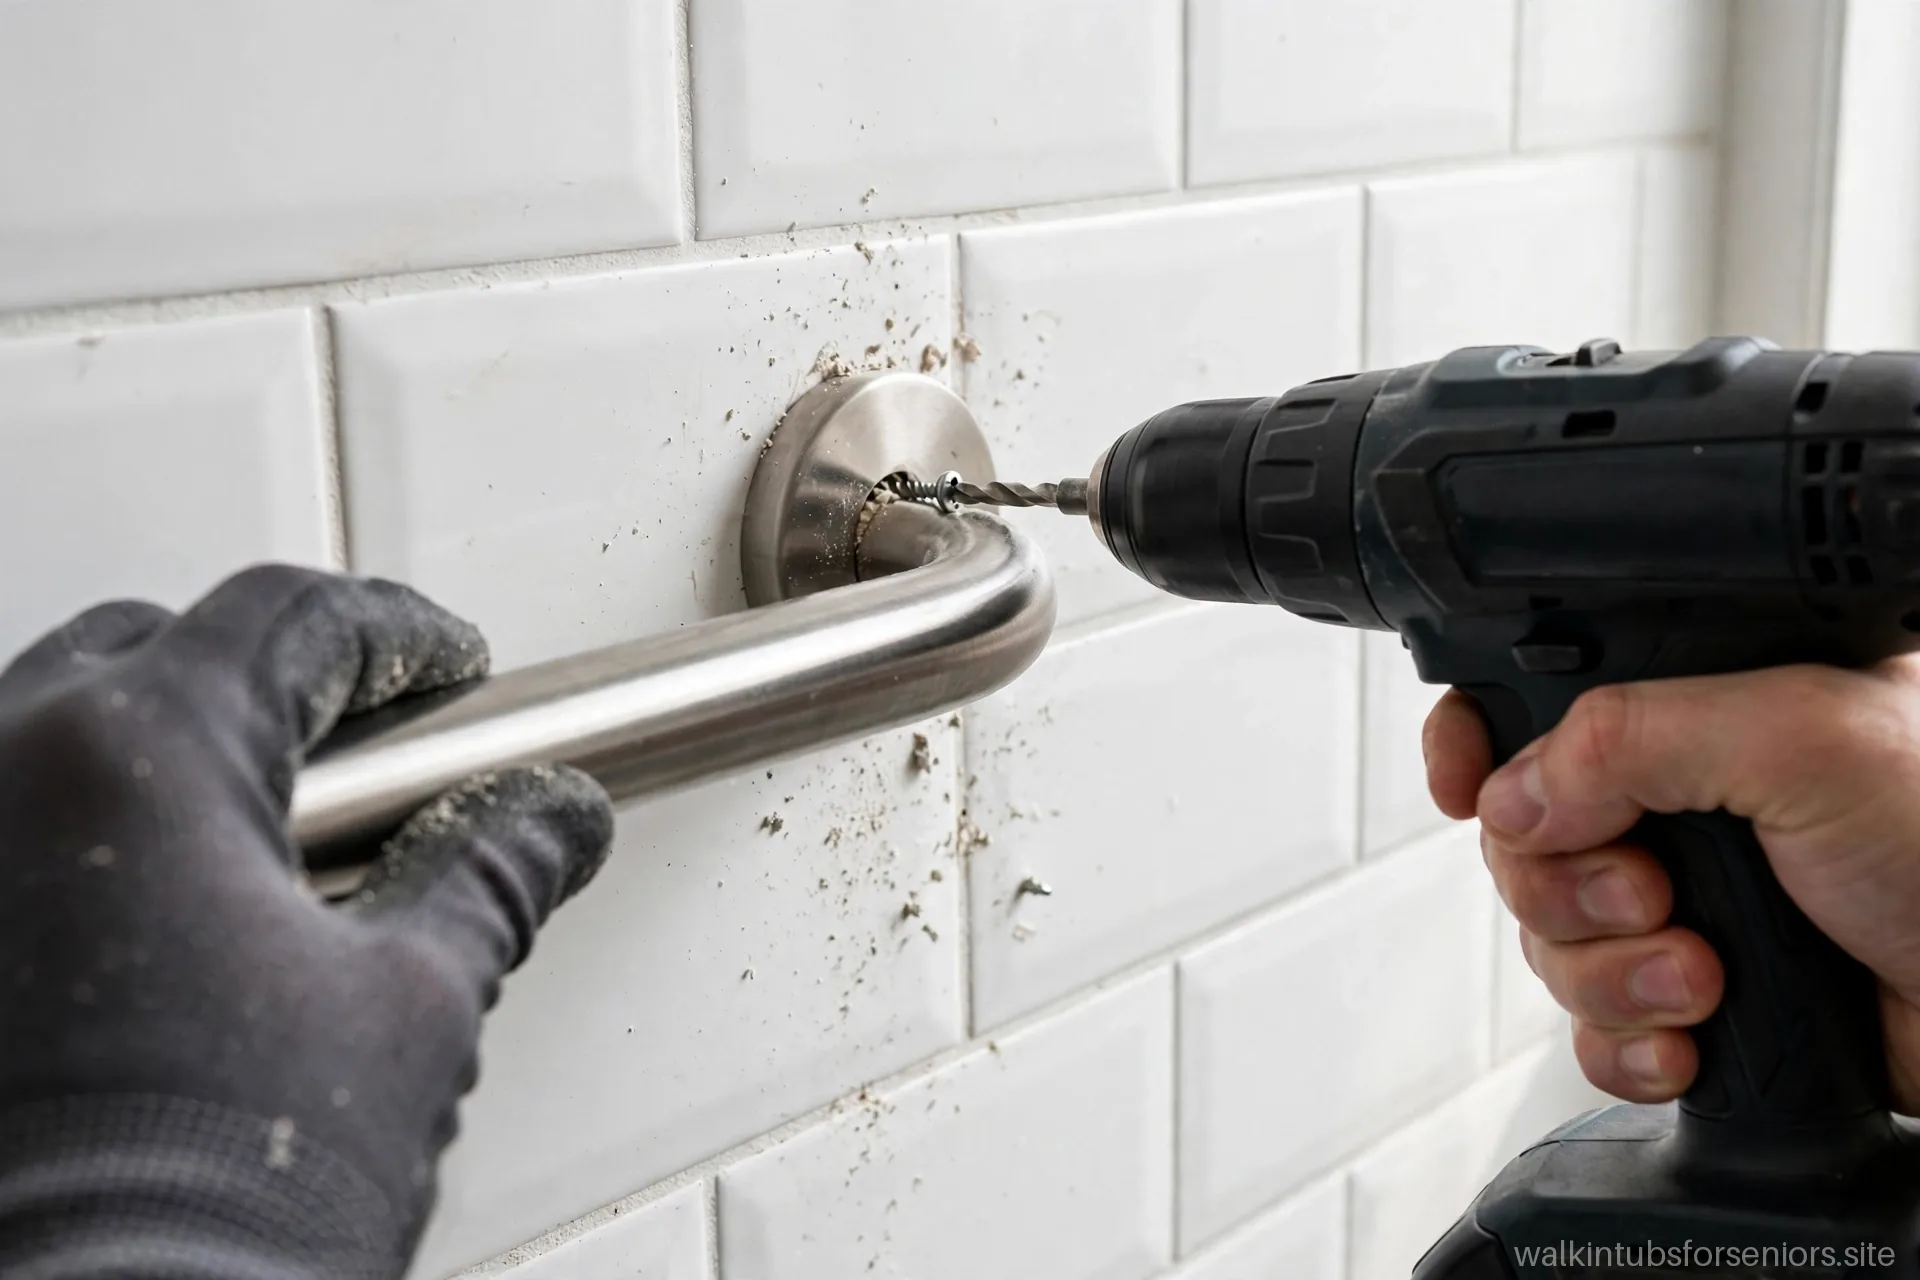
Professionally installed grab bars ($100–$300 installed per bar, illustratively): the single best structural upgrade — at the tub/shower and toilet, anchored to studs by someone who knows what is behind your walls. Shower chair or transfer bench ($40–$120): seated bathing for recovery or limited stamina. Comfort-height toilet ($200–$500 installed): a permanent fix for the low-toilet problem. Improved vanity/sink lighting ($100–$300): sconces that eliminate shadows. Flooring refresh in a small bathroom ($500–$1,500): textured vinyl over old slick tile.
Air vs. whirlpool covers the tub-style decision if you are weighing whether the bathing fixture itself is the next upgrade.
Tier 4: The major project (when the time is right)
A walk-in tub or curbless shower conversion is the definitive fix for bathing-entry falls — and the definitive budget commitment, illustratively several thousand to well into five figures installed. It makes sense when the interim measures are no longer enough, when a remodel is happening anyway, or when aging-in-place planning says the bathroom must work for the next 15 years, not the next two.
When you reach this tier, research thoroughly: our cost factors guide breaks down the full budget so the quote holds no surprises, and the estimator on our homepage gives you an illustrative planning range for tub-plus-installation costs.
The priority order that matters
If you take one thing from this guide, take the sequence: free fixes first, cheap fixes second, structural mid-range third, major project last. Each tier makes the next one more effective — grab bars matter more once the rugs are secured; a walk-in tub matters more once the lighting lets you see the threshold. Safety is a system, and systems are built in layers, cheapest layer first.
Revisit yearly
Bodies change, and so do bathrooms. Once a year, walk through with fresh eyes: are the grab bars still solid? Is the lighting still adequate? Has anyone’s balance, vision, or strength changed enough to move a planned upgrade forward? The cheapest safety audit is the one you actually do.

Phasing a multi-year safety plan
Not every upgrade must happen this year. A phased plan spreads cost and disruption while keeping safety improving every year. Year one: the free tier and the sub-$100 tier — declutter, lighting, rugs, nightlights, hand-held shower. Year two: structural mid-range — professionally installed grab bars, comfort-height toilet, shower chair. Year three and beyond: the major project — walk-in tub or shower conversion, flooring replacement — funded deliberately rather than financed in panic after a fall.
Two principles make phasing work. First, do things in dependency order: grab bars before the tub (you will use them with the new fixture too), lighting before flooring (see what you are doing), measurements before any purchase. Second, revisit the plan yearly and accelerate when the body says so — a phased plan is a schedule, not a straitjacket. If balance deteriorates faster than expected, the tub project moves up; if everything holds steady, the savings earn interest. The plan serves the person, not the reverse.
Where not to cut corners
Budget discipline is wise; false economy is not. Never economize on: grab bar installation — a cheap bar poorly anchored is worse than no bar, because it invites trust it cannot hold; pay for proper anchoring by someone who knows the wall structure. Electrical work — unlicensed electrical work in a bathroom is a fire and shock hazard that also voids insurance; the licensed electrician is non-negotiable. The door seal and gasket quality on any tub — the cheapest seal is the most expensive leak.
Where you can economize safely: finishes and colors (white works), premium brand names with identical specifications, extended warranties with poor labor terms (self-insure instead), and features nobody will use (the aromatherapy module in a house that hates scented products). The rule: spend on safety and structure, save on cosmetics and rarely-used extras. Every dollar moved from a decorative upgrade to a structural one buys real protection.
Knowing when to stop: the “safe enough” decision
Bathroom safety spending has no natural finish line — there is always one more upgrade, one more device, one more project. Without a deliberate stopping rule, budgets creep and the bathroom becomes a source of anxiety rather than confidence. So define “done” before you start: the bathroom is safe enough when the highest-probability, highest-severity risks are addressed — safe entry and exit from the bathing fixture, stable support where balance is challenged, traction underfoot, and adequate light. Everything beyond that is improvement, not necessity, and improvements can wait for next year’s budget without guilt.
The practical test is the confident-use test: can the person who uses this bathroom bathe, toilet, and groom without fear and without close supervision (at their appropriate supervision level)? If yes, the core work is complete. If a specific moment still causes anxiety — the step over the tub wall, the turn on a wet floor — that moment names the next project, and only that project. Vague unease is not a work order; a named scary moment is.
Watch for the two spending traps. The first is perfectionism: no bathroom can be made fall-proof, and chasing zero risk spends money that would do more good elsewhere — including non-bathroom safety like stair rails or medical alert systems. The second is project momentum: once contractors are in the house, every “while you’re at it” sounds reasonable and each one costs real money. Finish the planned work, live with it for three months, then reassess with fresh eyes. The pause is the most underrated budget tool: it converts anxious spending into deliberate decisions, and deliberate decisions are almost always cheaper.
Make the annual re-check a ritual, not a chore. Once a year — tie it to something memorable, like the start of daylight saving time or a birthday — walk the bathroom slowly with fresh eyes and test everything: tug each grab bar, check each mat’s grip, look at caulk lines and grout for gaps, run the exhaust fan and listen for weakness, verify nightlights still work, and confirm the non-slip texture still bites underfoot. Fifteen minutes, once a year, catches the slow degradation that daily familiarity hides. Replace what is worn on the spot or put it on the shopping list that week; the re-check only works if findings become actions.
Use the same visit to reassess the bather, honestly and kindly. Bodies change year to year — balance, strength, vision, cognition — and a bathroom that was safe enough last year may need the next tier of investment this year. The conversation is easier when it is routine rather than crisis-driven: “our yearly bathroom check” feels like maintenance, while “we need to talk about your safety” feels like an intervention. Frame it as caring for the bathroom, and the assessment of needs happens naturally along the way. Safety is not a project with an end date; it is a habit with a schedule. The budget follows the habit, a little each year, instead of arriving all at once as an emergency.
Finally, keep a simple running log: date, what you checked, what you replaced, what you spent. A notebook or a phone note is enough. Over the years this log becomes genuinely useful — it reveals which products wear out fastest, what the real annual cost of bathroom safety runs, and whether that expensive upgrade actually delivered. Data beats memory, and a five-year log turns guesswork into planning. The most budget-friendly bathroom is the one whose owner knows exactly what it costs to keep safe.
Frequently asked questions
Where should a renter start?
Tiers 1 and 2 are fully renter-friendly, and most of Tier 3 (chairs, clamp-on seats, hand-held showers) needs no permanent changes. Get written landlord approval before anything that drills into walls, like grab bars.
My parent resists changes. Any advice?
Start invisible: brighter bulbs, a nightlight, secured rugs. Frame bigger changes around comfort and independence rather than frailty — “this makes mornings easier” lands better than “this is for your safety.” Involve them in choosing finishes and fixtures so it feels like an upgrade, not a concession.
If I buy one thing this month, what?
A professionally installed grab bar at the tub or shower — or, if bars are already handled, a hand-held shower. Both get used daily and both directly prevent the most common bathroom falls.
This guide is general information only — not medical or contractor advice. For personalized fall-risk planning, talk to your doctor or an occupational therapist.